This is an herb that is biennial, which means it takes two years to complete its biological life cycle. It is used to make pickles, stews, soups, and more.
It is an easy herb to grown.
Dill – Planting, Growing, and Harvesting
1. All About Dill
In the first year, it will grow leaves, roots, and stems, and then over the winter, it will go into a period of dormancy. In the second year, it will produce flowers, or seeds, in the spring or summer before it dies. It needs a period of dormancy in order to produce seeds. You will need an area that is slightly acidic with well-drained soil and in a sunny location.
2. Planting
When you plant dill, it will need at least six to eight hours of sunlight each day. This is very important. It is an herb that self-sows so make sure that you are choosing a spot where you want to grow dill for a long time.
Self-sowing means this plant will produce seeds that you can collect or let fall to the ground and replant themselves. If it does not have the right amount of sunlight, they can tolerate some shade but this will not make the plant bushy.
The soil needs to have a pH of 6 to 6.5. When you are planting dill you should add some compost that has been aged to the soil. Adding compost will help to prevent your dill plants from being in standing water. Start planting the dill seed after the frost days have passed and must be at a distance of 20 feet from each other and depth of one-fourth of an inch. If you want to plant dill in a container you need it to be at least 12 inches and put in a location where it will get the right amount of sun.
In order to get the continuous harvest of dill, you will need to sow seed for extra crops every 20 to 30 days and continue this until about three months before the first frost.
3. Growing
To grow the dill seeds properly you need to let the soil dry almost completely before you water. They do not like too much quantity of water. Do not let it completely dry or the plants will die. You should check the soil each day by touching it with your fingers. If the soil feels dry, then you can water it.
Make sure you do not over-water it as there is a chance that it will turn yellow. You will have to thin out the plants about 15 days after they start to grow. You want to make sure that you only have one dill plant for every 18-20 inches of space. Pull out any seedlings that look damaged or unhealthy. Leave the strongest plants alone.
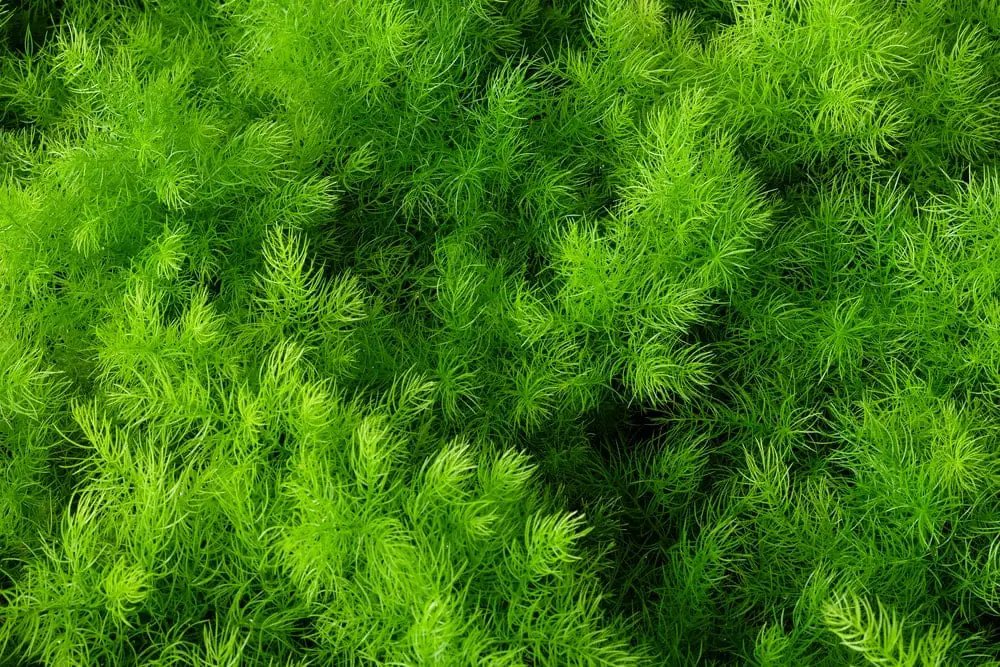
As soon as the plant has reached eight inches, you will need to snip the top off using garden shears. When doing this, you are directing the nutrients outward instead of upward to motivate the dill to become bushier and produce more leaves. When you clip the top of the plant it will help it from becoming heavy at the top.
At the end of spring, you will need to fertilize the plants with an N-P-K ratio of 15-5-10. To help give the leaves a prolonged life, you will have to pinch off the flowers. It will have a better flavor if it does not flower. If you see pests on dill you will need to pick them off by hand and dispose of them.
The dill plant is very resistant to many diseases. The dill can still get attacked by the parsley caterpillars or the tomato hornworms. You also have to get rid of the weeds that pop up around the dill plants. The weeds will eat the nutrients that could be going to the dill plant.
If you notice the plants starting to lean you will have to tie them to a stake. The stems of the dill plants are long and thin so they can be easily snapped. You can use twine to gently tie them to the stake. Dill will grow in zones 3-7 as a summer annual but it will work better as a winter crop in zones 8-11.
4. Harvesting
You want to make sure that you harvest the dill before it comes into flower. If you decide not to collect the seeds, you can snip off the flower heads and continue to pluck off the leaves. All you do is snip the leaves from the plant. To preserve the dill you will need to dry the leaves. You can even dry the seeds and stems. You need to use sharp scissors to cut off the leaves. You need to remove the stems when the seeds are brown and ripe.
Make sure that after you have harvested the dill that you wash it to remove any insects and dirt. It is best that you use it as soon as you harvest it because if you dry it, the leaves will lose some of their pungency. As a result, you will have to add more of the seasonings to get the same flavor as if were fresh.
Some will use the dill seeds because they are more favorable and have a stronger dill taste. You can dry the dill leaves and after they are dry, crumble them and store in a cool dark area. They will keep for four to six months.
Keep reading: Echeveria: Plant Care
Conclusion
Dill is a popular herb and it is the seeds that they use for pickling cucumbers. It is an easy herb to grow and being self-sowing, you really do not have to worry about planting seeds. Dill is best if used while it is fresh but you can dry it.
Just expect to use a bit more as it is not as potent. You can grow dill as part of your herb garden indoors but make sure that it gets the proper amount of sunlight and the right amount of water.
More like this:
Victoria is the owner and main author of hobby plants. She loves spending her free time in her garden planting and taking care of her plants. Victoria hopes you enjoy the content here!
